Send Data to Azure IoT Hub with an SAS Key
You can connect and send data (messages) to Azure IoT Hub from Belden Horizon Data Operations with SSL using the SAS key.
Before You Begin
You must first Set up an Azure IoT Hub.
Step 1: Add a Device in Belden Horizon Data Operations
Follow the steps to Connect a Device. The device will be used to store tags that will be eventually used to create outbound topics in the connector. Make sure to select the Enable Data Store check box.
Step 2: Add Tags
After connecting the device in Belden Horizon Data Operations, you can Add Tags to the device. Create tags that you want to use to create outbound topics for the connector.
Step 3: Add the Connector in Belden Horizon Data Operations
Follow the steps to Add a Connector and select the MQTT - Azure IoT Hub using SAS Key provider.
Configure the following parameters.
- Name: A recognizable name to identify the connector.
- Hostname: The IP address or server FQDN of the MQTT broker (must be reachable from your edge device).
- Port: The MQTT broker's port number. The default value is 8883.
- Device ID: Copy the Device ID of your edge device from the IoT Devices page in the Azure portal and paste it here.
- SAS Key: Copy the primary or secondary shared access key from the IoT Devices page in the Azure portal and paste it here.
- Parallel Publish Count: The maximum number of concurrently published messages. The default value is 16.
- Integration Topic: The default topic to publish or subscribe to: devices/[deviceId]/messages/events/. Replace [deviceId] with the Device ID copied from Azure.
- Token TTL: The token expiry time in minutes. The default value is 1440.
- LWT Topic: The topic for MQTT's Last Will and Testament feature.
- LWT payload: The payload for MQTT's Last Will and Testament feature.
- LWT payload type: The payload type for MQTT's Last Will and Testament feature. The options are string and base64.
- LWT QoS: The Quality of Service value for MQTT's Last Will and Testament feature.
- LWT retained: Select this check box to retain the value for MQTT's Last Will and Testament feature.
- Throttling Limit: The maximum number of messages per second to be processed. The default value is zero, which means that there is no limit.
- Persistent storage: When enabled, this will cause messages to undergo a store-and-forward procedure. Messages will be stored within Belden Horizon Data Operations when cloud providers are online.
Step 4: Create Topics for Azure Connector
You will now need to create topics from the tags you added in Step 2.
Before creating the topics copy the Raw Topic parameter for all tags you want to use for topics. See Manage Tags for more information.
To create topics:
- Click the connector tile. The connector Dashboard appears.
- Click the Topics tab.
- Add topics to the connector with the details below. See the Add a Topic to a Connector section in Manage Connectors for more information.
- Data Direction: Select Local to Remote - Outbound.
- Local Data Topic: Paste the Raw Topic for the tag created in Step 2.
- Remote Data Topic: Verify the format of the remote data topic is devices/[DeviceID]/messages/events/. Replace [DeviceID] with the Device ID parameter configured for the connector. devices/MyDevice/messages/devicebound/%24.to=%2Fdevices%2Fmessages%2Fdevicebound.
- Enable: Click the toggle to enable the topic.
- Click Yes to add the topic.
- After adding all required topics, navigate to the Integration pane.
From the connector tile, click the toggle to enable the connector.
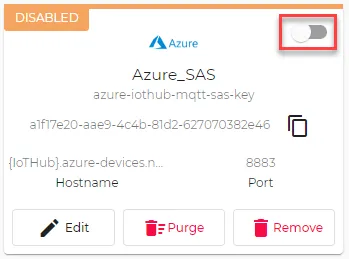 Connection toggle
Step 5: Create TestTable and Mapping
To create a TestTable and mapping:
- Log in to the Azure portal
- Open the device pane
- Click the IoT Hub link, and then click the DataPub link.
- Scroll down to display the IoT messages.
- Click the Home link, and then click Azure Data Explorer. The Azure Data Explorer Clusters pane appears.
- Click the clusterduck link. The clusterduck pane appears.
- From the right pane, click Query. The Query pane appears to the right.
- Click testdb. The .create table TestTable (temperature: string); line appears.
- Click Run. The TestTable schema appears below and TestTable appears beneath testdb.
- Replace .create table TestTable (temperature: string); with .create table TestTable Ingestion json mapping 'mapping' '[{"column":"temperature","path":"$","datatype":"string"}]';, and then click Run. The mapping json appears below.
Click the Expand icon next to TestTable to reveal temperature (string).
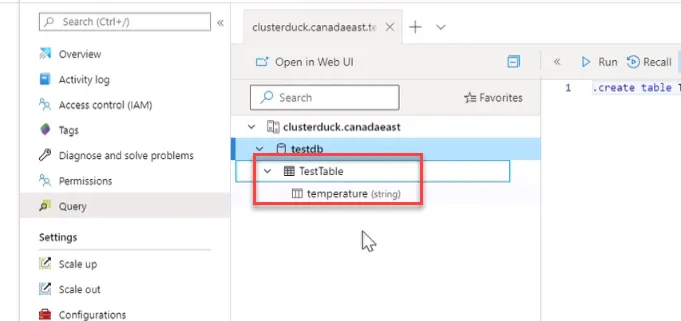 The temperature string parameter
Step 6: Add a Data Connection in Azure
To add a data connection in Azure:
- On the Azure home page, from the left navigation pane under Data, click Databases.
- Click the testdb link. The testdb pane appears.
- From the left pane, click Data Ingestion. The Data Ingestion pane appears.
- From the right pane, click Add data connection. The Data connection pane appears to the right.
- From the Select connection type drop-down listm select IoT Hub. The IoT Hub dialog box drops down.
- From the IoT Hub dialog box, enter conn in the Data connection name field.
- From the Iot Hub drop-down list, select DataHub.
- From the Shared Access Policy drop-down list, select iothubowner.
- From the Consumer group drop-down list, select $Default.
- In the Table field, enter TestTable.
- From the Data format drop-down list, select JSON.
- In the Column mapping field, enter mapping.
- Click Create. The data connection appears in the Data Connection list.
- From the left Navigation panel, click Query. The Query pane appears.
Enter SELECT * FROM TestTable; in the query line, and then click Run. The values for TestTable appear below.
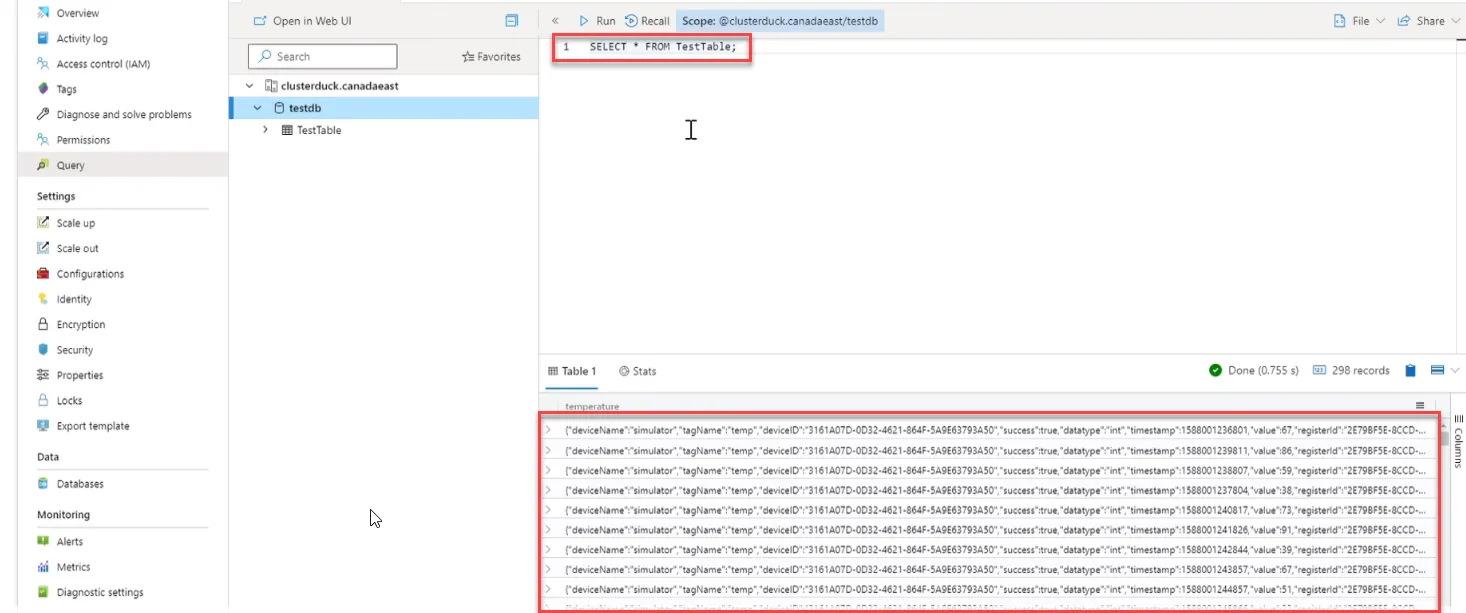 Values for TestTable