MongoDB
You can generate data from an edge device, then connect and store the data in the MongoDB db-sample database using the DB-MongoDB connector. Data is collected from the selected device. You can perform mongoDB queries.
See the the MongoDB documentation for more information.
Step 1: Add Device
Follow the steps to Connect a Device. The device will be used to store tags that will be eventually used to create outbound topics in the connector. Make sure to select the Enable Data Store check box.
For this use case, select the Simulator device and Simulator (Gen1) driver and use the name PLC1.
Step 2: Add Tags
After connecting the device in Belden Horizon Data Operations, you can Add Tags to the device. Create tags that you want to use to create outbound topics for the connector.
For this use case, add two tags with the following details.
- Name: Select int-integer.
- Value Type: Select int.
- Tag Name: Enter temp.
- Polling Interval: Enter 1.
- Address: Enter 0.
- Name: Select float-float.
- Value Type: Select float.
- Tag Name: Enter pressure.
- Polling Interval: Enter 1.
- Address: Enter 1.
Step 3: Add MongoDB Marketplace Application
Note: The version used in this use case for MongoDB is 4.2.
To add the MongoDB Marketplace Application:
- In Belden Horizon Data Operations, navigate to Applications > Marketplace.
- Click Marketplace List and select Default Marketplace Catalog.
- Click the MongoDB application tile.
- From the Installation script version drop-down list, select latest.
- Enter MongoDB in the Name field.
- Click Launch.
- Navigate to Applications > Catalog Apps. The MongoDB application appears, pulls the image, and then starts the application. The MongoDB application shows as running.
- Navigate to Applications > Containers. The MongoDB application Container is running.
- Copy the IP address for the MongoDB application.
Step 4: Add the DB - MongoDB Connector
Follow the steps to Add a Connector and select the DB - MongoDB provider.
Configure the following parameters.
- Name: A recognizable name to identify the connector.
- Hostname: Paste the IP address you copied in Step 3.
- Port: The MongoDB Server port. The default value is 27017.
- Username: Enter user.
- Password (Optional): Enter the user password.
- Auth database (Optional): The authentication database name. The default value is admin.
- Auth mechanism: Select PLAIN.
- Database: Enter db-sample.
- Collection: Enter devicehub.
- Throttling limit: The maximum number of messages per second to be processed. The default value is zero, which means that there is no limit.
- Persistent storage: When enabled, this will cause messages to undergo a store-and-forward procedure. Messages will be stored within Belden Horizon Data Operations when cloud providers are online.
Step 5: Enable the DB - MongoDB Connector
To enable the connector:
- Return to the Belden Horizon Data Operations Integration browser tab.
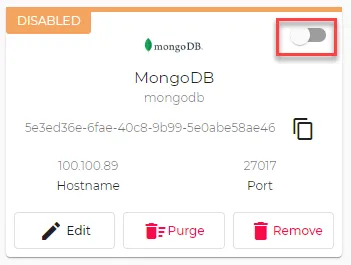
Click the connection toggle on the connector tile. The connector shows connected after verifying the certificate, username, and password.
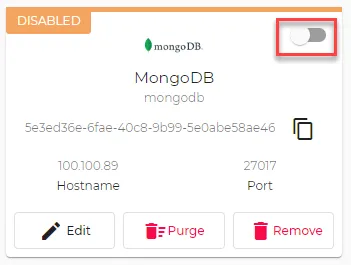 Toggle to enable connector
Step 6: Create Topics for MongoDB Connector
You will now need to import the tags created in Step 2 as topics for the MongoDB connector. The topics will be created as outbound topics.
To create outbound topics:
- Click the connector tile. The connector Dashboard appears.
- Click the Topics tab.
Click the Import from DeviceHub tags icon. The DeviceHub Import dialog box appears.
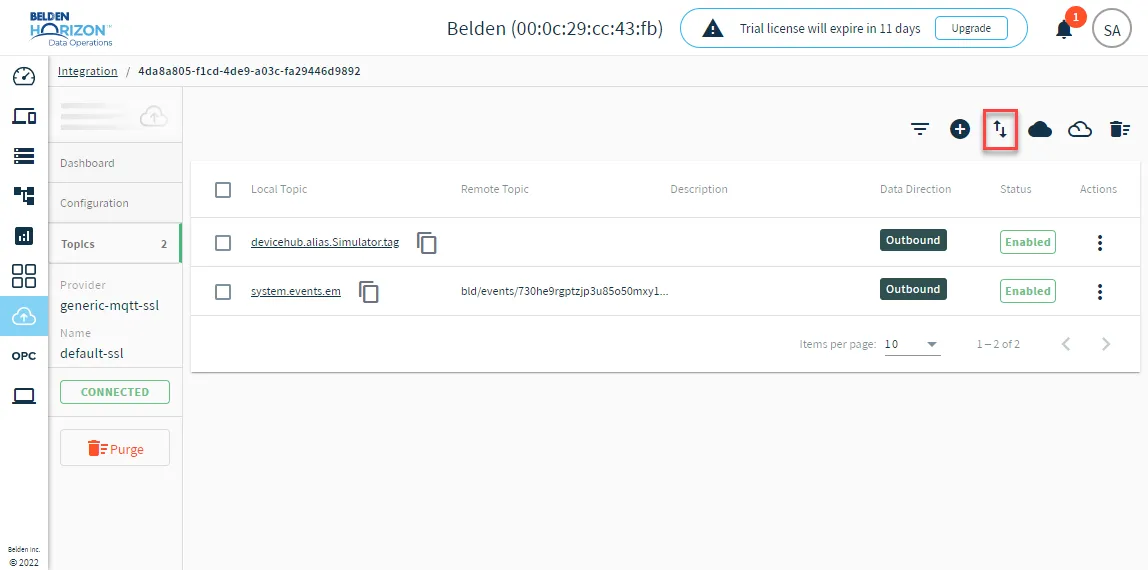
After importing the tags, click the toggle in the connector tile to restart the connection.
Step 7: Enable Topics
To enable the topics, return to the Topics tab and click the Enable all topics icon.
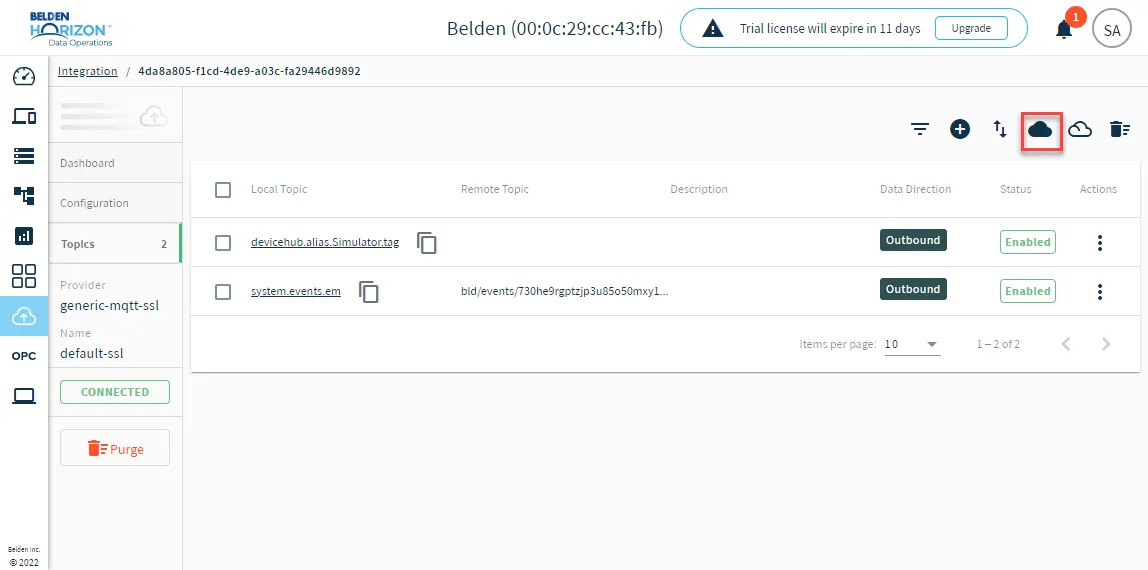
Step 8: Make Queries in the MongoDB Container Terminal
To make queries in the MongoDB container terminal:
- In Belden Horizon Data Operations, navigate to Applications > Containers.
- From the MongoDB container terminal, enter mongo and press ENTER. The MongoDB shell version v4.4.4 appears and connects.
- Enter show databases and press ENTER. The db-sample database name appears in the console.
- Enter use db-sample and press ENTER. The directory switches to db-sample.
Enter show collections and press ENTER. The collection list appears.
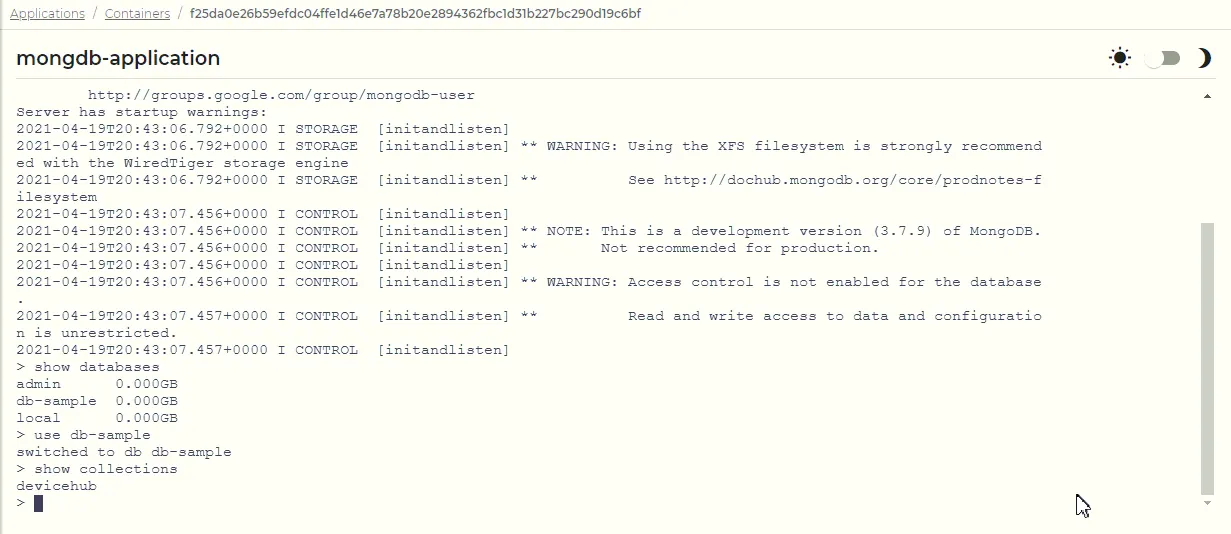 MongoDB connector messages