MindSphere
You can connect and send messages to MindSphere from a Belden Horizon Data Operations device. Data is collected from the selected device. Devices on Belden Horizon Data Operations can be set for further analysis and reporting capabilities.
Step 1: Create a MindSphere Aspect
To create a MindSphere aspect:
- Log in to MindSphere.
- From the dashboard, select Asset Manager. The Asset Manager pane appears.
- From the left pane, select Aspects. The Aspects pane appears.
Click Create aspect. The Create aspect dialog box appears.
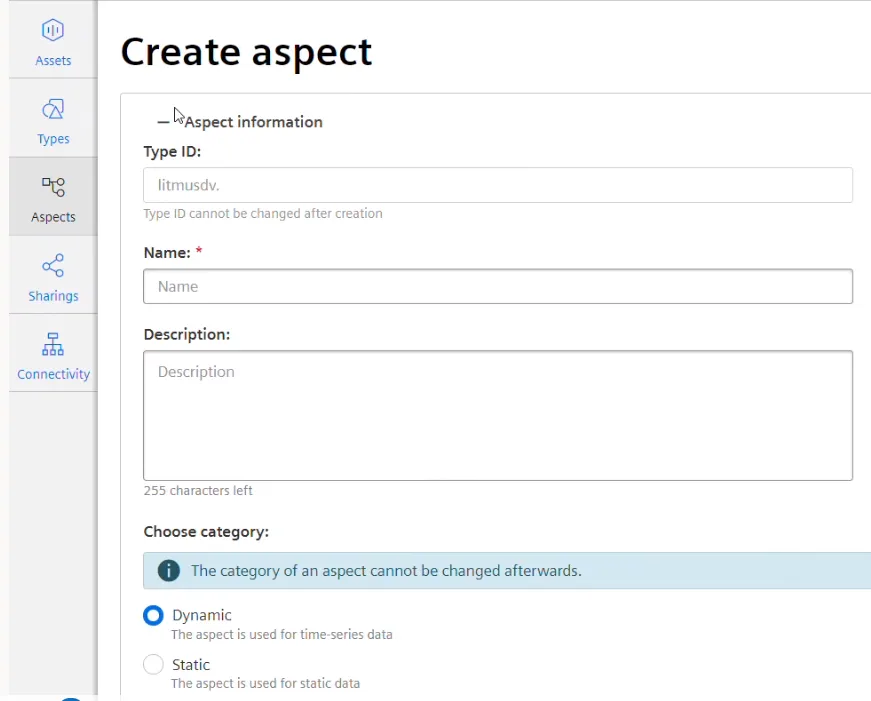 Create aspect dialog box
- In the Name field, enter Belden.
- Scroll to the bottom and click Add variable. The Variables section drops down.
- Configure the following parameters.
- Name: Enter temperature.
- Data type: Select LONG.
- Unit: Enter C.
- Click Add variable. A new row appears in the Variables section.
- Configure the following parameters.
- Name: Enter pressure.
- Data type: Select INT.
- Unit: Enter bar.
Scroll down and click Save. The aspect appears in the Aspects pane.
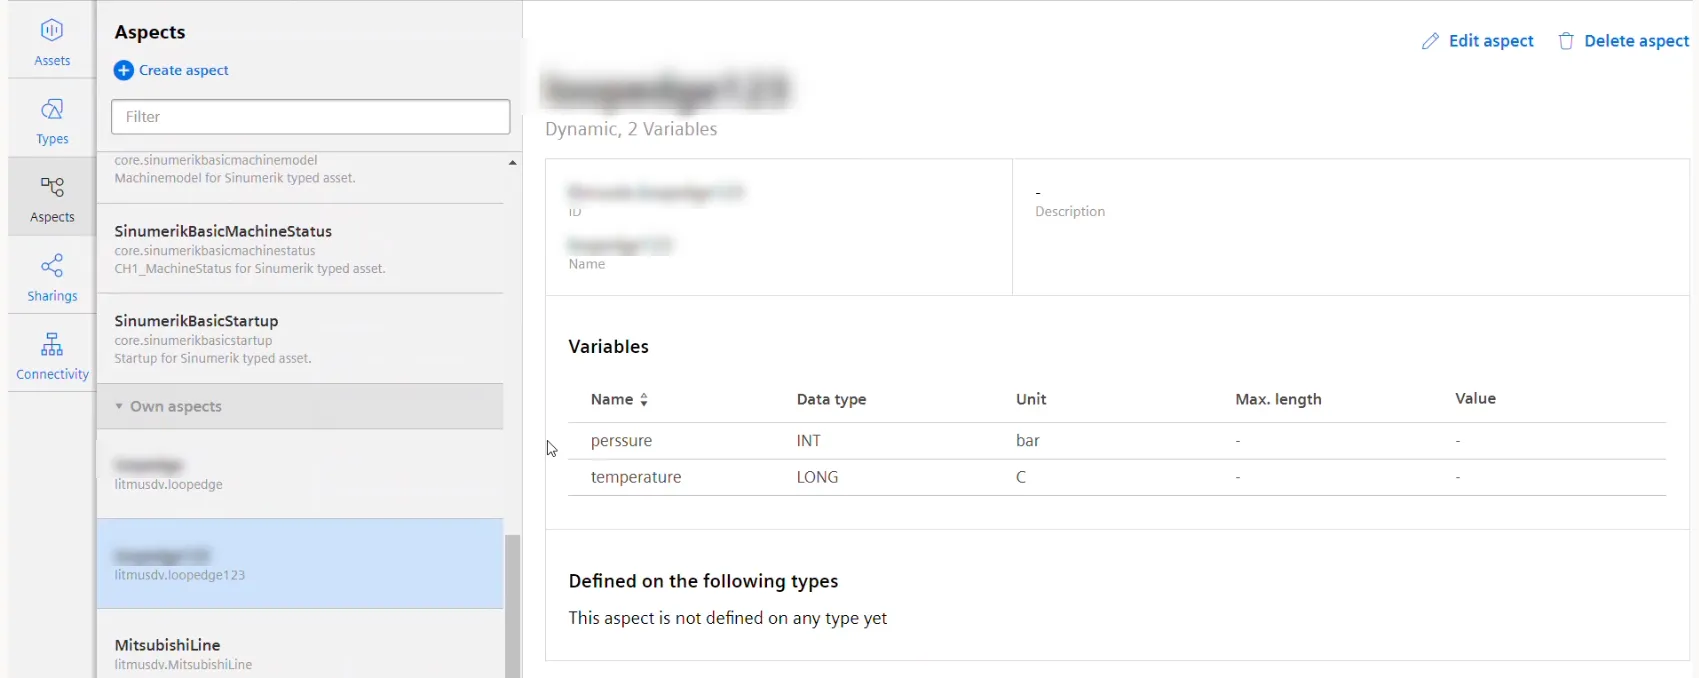 The Aspects pane
Step 2: Create a Type
To create a type:
- From the left pane, click Types. The BasicAsset pane appears.
- From the Core types section, select BasicAgent. The BasicAgent pane appears.
- From the Core types section, select MindConnectLib. The MindConnect Lib pane appears.
- Click Add derived type. The Create type dialog box appears.
- In the Name field, enter boiler.
- From the Aspects section, click Add aspect. A new row appears in the Aspects list.
- From the Aspects list, select the aspect you created from the Aspect drop-down list.
Click Save. The aspect appears in the boiler pane.
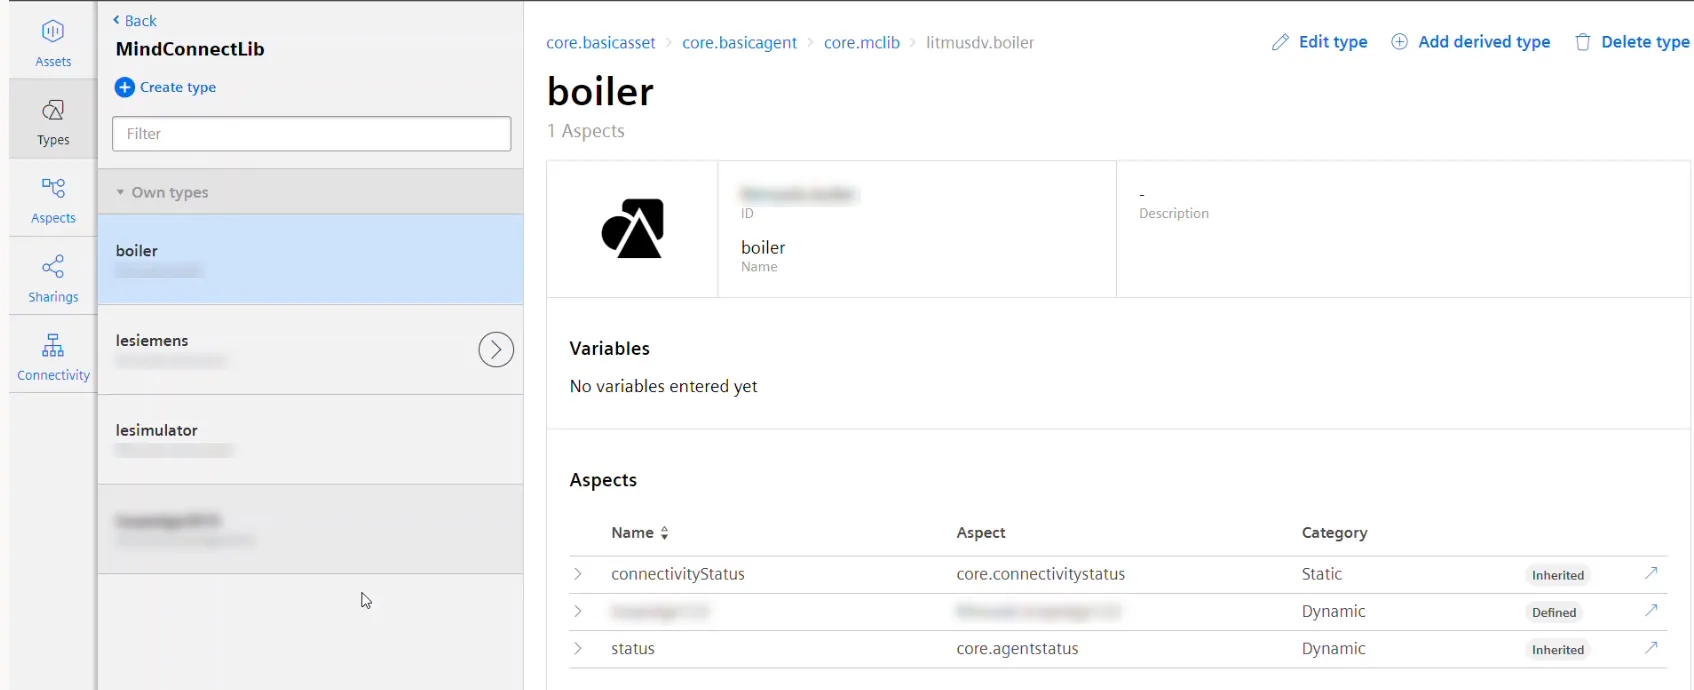 The boiler pane
- Click Back twice. The BasicAsset pane appears.
Step 3: Create an Asset
To create an asset:
- From the left pane, click Assets. The root asset pane appears.
- Click Create asset. The Select type pane appears.
- Select boiler from the list, and then click Create. The Add asset dialog box appears.
In the name field, enter plant12, and then click Save. The plant appears in the root asset list.
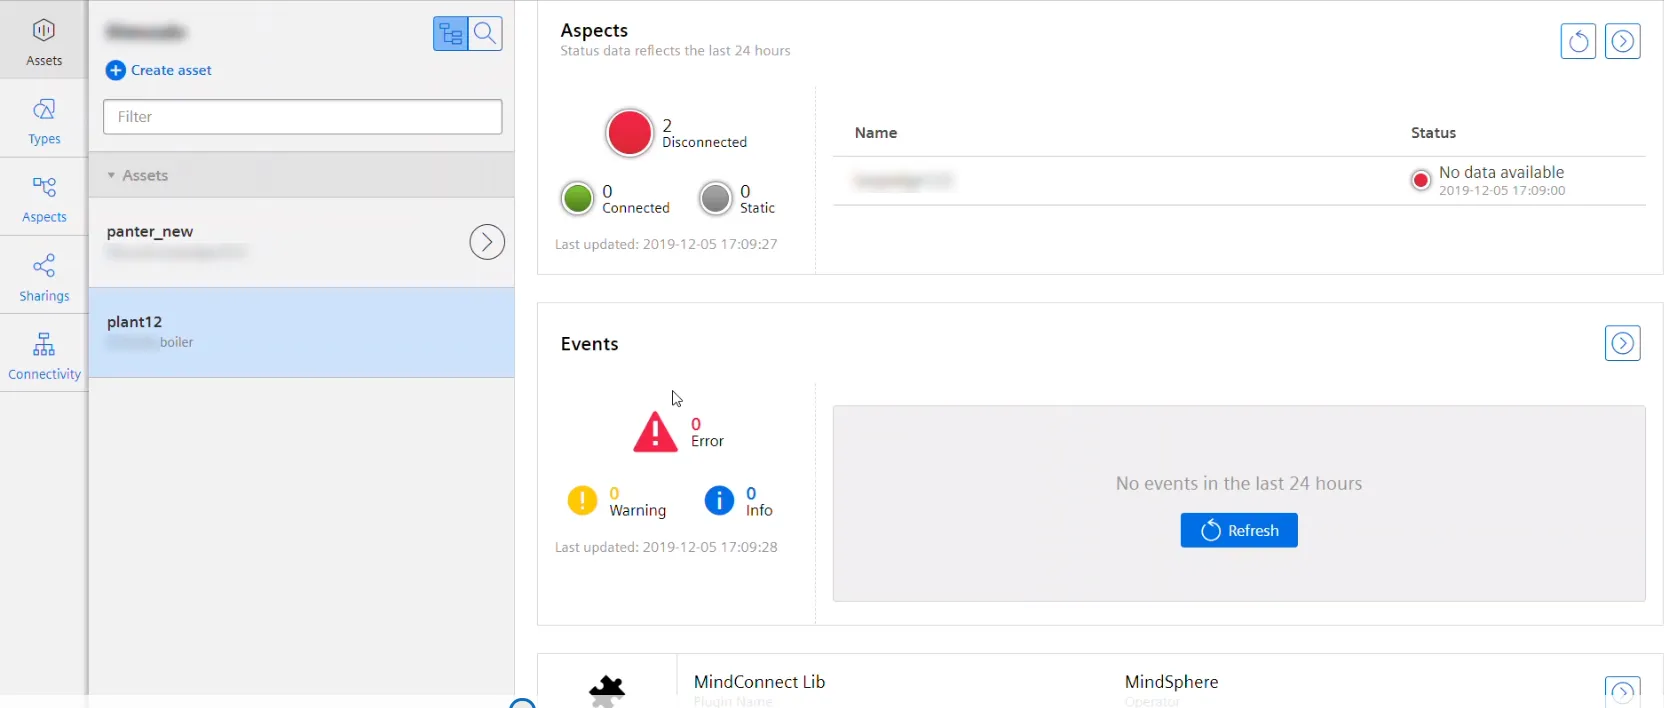 The root asset list
Step 4: Configure the MindConnect Lib plugin
To configure the MindConnect Lib plugin:
- From the Aspects pane, click the Mindconnect Lib section. The Configure MindConnect Lib dialog box appears.
- Select SHARED_SECRET, and then click Save. The Edit boarding configuration dialog box appears.
- Click Generate onboarding key. The key appears in the Boarding configuration field.
- Click Copy to clipboard. The key is copied to your clipboard.
Step 5: Add MindSphere Connector
Follow the steps to Add a Connector and select the MindSphere PSK (experimental) provider.
Configure the following parameters.
- Name: A recognizable name to identify the connector.
- Agent boarding configuration: Paste the key generated in Step 4.
- Aspect name: Enter the aspect name created in Step 1.
- Throttling limit: The maximum number of messages per second to be processed. The default value is zero, which means that there is no limit.
- Persistent storage: When enabled, this will cause messages to undergo a store-and-forward procedure. Messages will be stored within Belden Horizon Data Operations when cloud providers are online.
Step 6: Add Device
Follow the steps to Connect a Device. The device will be used to store tags that will be eventually used to create outbound topics in the connector. Make sure to select the Enable Data Store check box.
For this use case, select the Simulator device and Simulator (Gen1) driver, and use the name boilersimulator.
Step 7: Add Tags
After connecting the device in Belden Horizon Data Operations, you can Add Tags to the device. Create tags that you want to use to create outbound topics for the connector.
For this use, case, add two tags with the following details.
- Name: Select int-integer.
- Value Type: Select int.
- Tag Name: Enter pressure.
- Polling Interval: Enter 1.
- Address: Enter 6.
- Name: Select float-float.
- Value Type: Select float.
- Tag Name: Enter temperature.
- Polling Interval: Enter 1.
- Address: Enter 2.
Step 8: Create Topics for MindSphere Connector
You will now need to import the tags created in Step 7 as topics for the MindSphere connector. The topics will be created as outbound topics.
To create outbound topics:
- Click the connector tile. The connector Dashboard appears.
- Click the Topics tab.
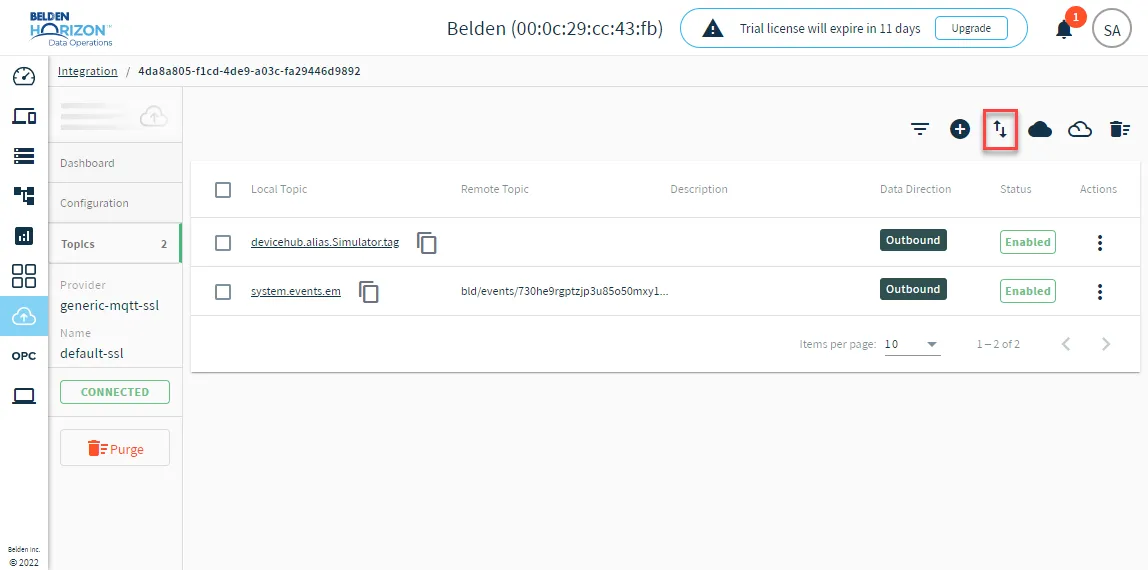
Click the Import from DeviceHub tags icon. The DeviceHub Import dialog box appears.
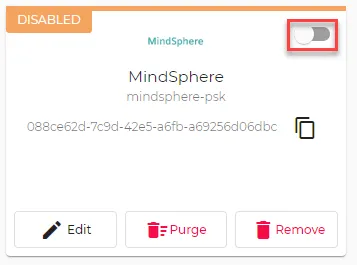
After importing the tags, click the toggle in the connector tile to restart the connection.
Step 9: Enable Topics
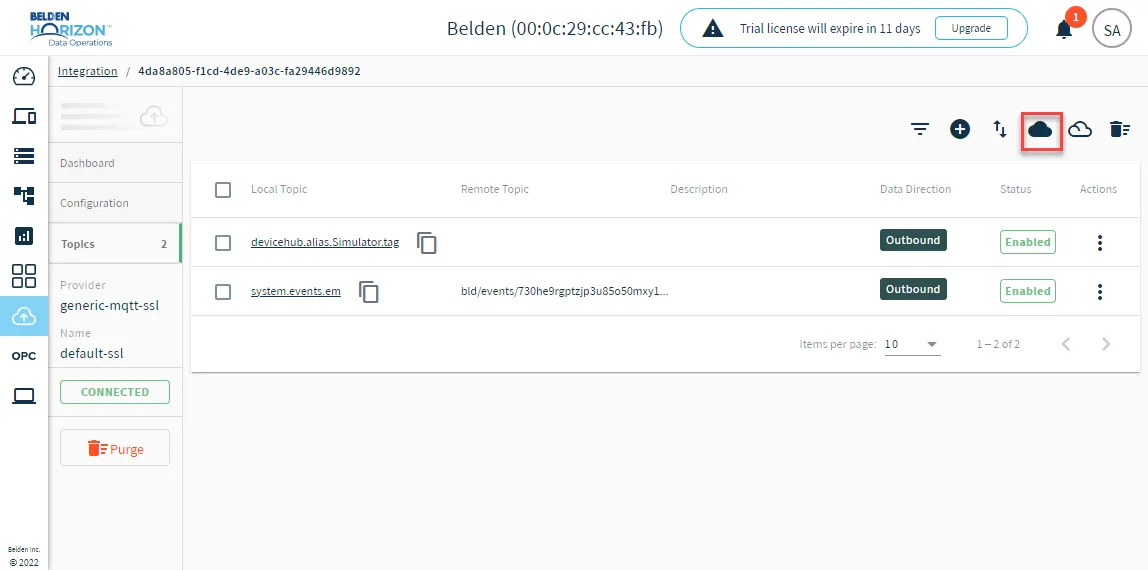
To enable the topics, return to the Topics tab and click the Enable all topics icon.
Step 10: Add Data Source
To add the data source:
- Log in to MindSphere.
- From the left pane, click plant12. The Aspects pane appears.
- Click MindConnect Lib. The MindConnect Lib Plugin for the plant12 boiler appears.
- Click Add data source. The Add data source dialog box appears.
- In the Name field, enter boiler, and then click Accept. The boiler line item is added.
- Click Add data point next to the boiler line item. The Add data point dialog box appears.
- Configure the following parameters.
- Name: Enter temp.
- Type: Select LONG.
- Unit: Enter C.
- Click Accept. The first data point is added to the boiler line item.
- Click Add data point next to the boiler line item.
- Configure the following parameters.
- Name: Enter pres.
- Type: Select INT.
- Unit: Enter bar.
- Click Accept. The second data point is added to the boiler line item.
- Click Save, and then click Save again.
- Click the Data mappings tab.
- Click Link variable next to temp. The Link variable dialog box appears.
- Select Link variable next to temperature, and then click Accept. The data mapping for temperature appears under temp.
- Click Link variable next to pres. The Link variable dialog box appears.
- Select Link variable next to pressure, and then click Accept. The data mapping for pressure appears under pres.
- Click Close. The Asset pane appears.
Step 11: Verify the Connection
To verify the connection:
- Return to the MindSphere Edit boarding configuration dialog box browser tab.
Note that Onboarded shows a green status.
 Onboarded Boarding status
- Click Close. The plant12 assets pane appears.
- From the left pane, click plant12. the Aspects pane appears to the right displaying the MindSphere aspect.
- From the right pane, click the Belden Horizon Data Operations aspect. The aspect chart appears displaying the variables.