Splunk
You can connect and send messages to Splunk from the Belden Horizon Data Operations Simulator.
Before You Begin
You must have a Splunk account.
Step 1: Add Device
Follow the steps to Connect a Device. The device will be used to store tags that will be eventually used to create outbound topics in the connector. Make sure to select the Enable Data Store check box.
For this use case, select the Simulator device and Simulator (Gen1) driver.
Step 2: Add Tag
After connecting the device in Belden Horizon Data Operations, you can Add Tags to the device. Create tags that you want to use to create outbound topics for the connector.
For this use case, add a tag with the following details.
- Name: Select int-integer.
- Value Type: Select int.
- Tag Name: Enter test1.
- Polling Interval: Enter 1.
- Address: Enter 0.
Step 3: Retrieve Splunk Parameters
Log in to Splunk, navigate to the Splunk - Sublime Text page, and copy the following values:
- Input line
- Services line
- Token line
Step 4: Add Splunk Connector
Follow the steps to Add a Connector and select the Splunk provider.
Configure the following parameters.
- Name: A recognizable name to identify the connector.
- Hostname: Paste the Input line copied in Step 3.
- Port: Leave the default value of 8088.
- Use SSL: Make sure the check box is selected.
- Endpoint: Paste the Services line copied in Step 3.
- Token: Paste the Token line copied in Step 3.
- Throttling Limit: The maximum number of messages per second to be processed. The default value is zero, which means that there is no limit.
- Persistent storage: When enabled, this will cause messages to undergo a store-and-forward procedure. Messages will be stored within Belden Horizon Data Operations when cloud providers are online.
Step 5: Enable the Connector
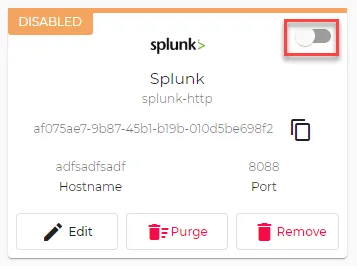
After adding the connector, click the toggle in the connector tile to enable the connector.
Step 6: Create Topic for Splunk Connector
You will now need to import the tag created in Step 2 as topics for the Splunk connector. The topic will be created as an outbound topic.
To create outbound topics:
- Click the connector tile. The connector Dashboard appears.
- Click the Topics tab.
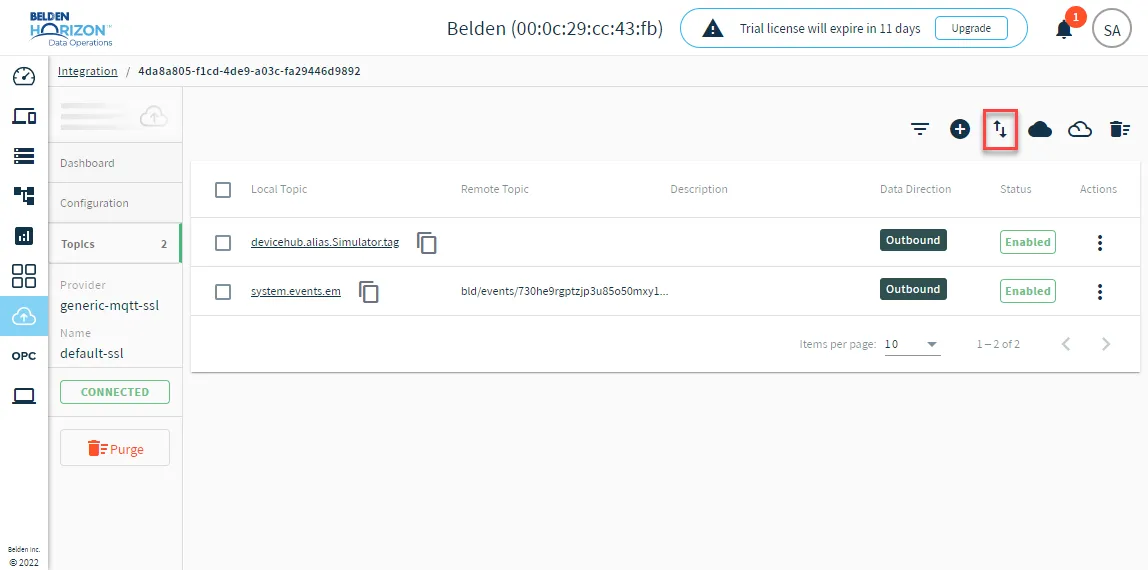
Click the Import from DeviceHub tags icon. The DeviceHub Import dialog box appears.
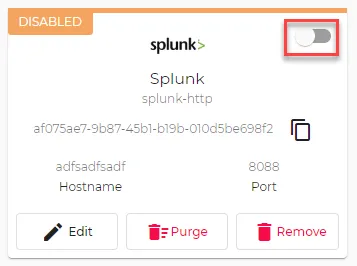
After importing the tags, click the toggle in the connector tile to restart the connection.
Step 7: Enable Topic
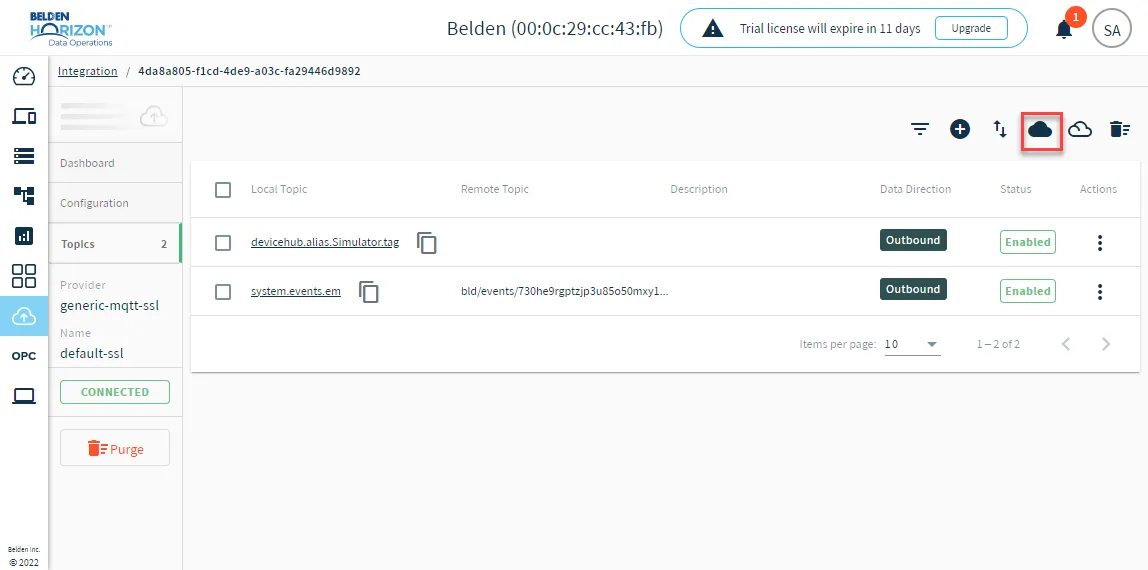
To enable the topic, return to the Topics tab and click the Enable all topics icon.
Step 8: Verify Data Connection in Splunk
To verify the data connection in Splunk:
- Log in to Splunk.
- Open the Splunk HTTP Event Collector and refresh the data.
- Scroll down to the Activity section and hover over the data to view Valid Requests.
- In the Request Overview section, hover over the Valid Request Count and click the Refresh icon.
- Verify that the values for Event Count and Valid Request Count update.