QEMU Emulator KVM
You can use QEMU emulator version 2.11.1(Debian 1:2.11+dfsg-1ubuntu7.34) to install Belden Horizon Data Operations.
Caution: This installation is validated using the above version and host OS Ubuntu-18.04. Other versions are not recommended or guaranteed.
Before You Begin
You must have access to QEMU emulator version 2.11.1(Debian 1:2.11+dfsg-1ubuntu7.34) and OS Ubuntu 18.04.
To use QEMU Emulator KVM to install Belden Horizon Data Operations, you will need to do the following.
- Step 1: Create a Virtual Machine
- Step 2: Configure Settings
- Step 3: Install KVM
- Step 4: Log in to Belden Horizon Data Operations
To jump to a specific section, refer to the Table of Contents on the right side and click the corresponding step.
Step 1: Create a Virtual Machine
You will first need to create the virtual machine that will run Belden Horizon Data Operations.
To create the virtual machine:
- From the QEMU emulator, open the Virtual Machine Manager.
- Click File and select New Virtual Machine. The Create a new virtual machine - step 1 dialog box appears.
Create a new virtual machine - step 1
To complete step 1:
- From the Create new virtual machine - step 1 dialog box, select Local install media (ISO image or CDROM).
- Click Forward. The Create a new virtual machine - step 2 dialog box appears.
Create a new virtual machine - step 2
To complete step 2:
- From the Create a new virtual machine - step 2 dialog box, select Use ISO image.
- Click Browse. The Choose storage volume dialog box appears.
- Click Browse Local.
- Navigate to the ISO file and click double-click the file. The path for the image appears in the field.
- Click Forward. The Create new virtual machine - step 3 dialog box appears.
Create a new virtual machine - step 3
To complete step 3:
- From the Create new virtual machine - step 3 dialog box, enter4096 in the Memory (RAM) field.
- Enter 2 in the CPUs field.
- Click Forward. The Create new virtual machine - step 4 dialog box appears.
Create a new virtual machine - step 4
To complete step 4:
- From the Create new virtual machine - step 4 dialog box, select Create a disk image for the virtual machine.
- Enter 20.0 in the field.
- Click Forward. The Create a new virtual machine - step 5 dialog box appears.
Create a new virtual machine - step 5
To complete step 5:
- From the Create a new virtual machine - step 5 dialog box, enter a name for the virtual machine.
- Under Storage, select Customize configuration before install.
- Click the Expand (v) icon next to Network selection. The network selection box drops down.
- From the options. select Host device enp2s0: macvtap. The source mode selection box drops down.
- From the options, select Bridge.
- Click Finish. The <VMName> on QEMU/KVM dialog box appears.
Step 2: Configure Settings
After installing the virtual machine, you will need to configure its settings.
To configure the settings:
- Navigate to the Overview tab in the left panel.
- From the Firmware drop-down list, Select UEFIx86_64: /usr/share/OVMF/_CODE.fd.
- Click Apply.
- From the left panel, select IDE Disk 1.
- From the IDE Disk 1 pane, click the Expand (v) icon next to Advanced options. The disk fields drop down.
- From the Disk bus drop-down list, select SATA.
- Click Apply.
- Click Begin Installation. The Creating Virtual Machine dialog box appears and begins the installation.
- Click the dialog box to open the KVM OS installation application.
Step 3: Install KVM
From the KVM OS Installer, you will need to respond to the questions in the terminal user interface (TUI). Use the arrow keys to navigate the TUI.
To install KVM:
From the Welcome screen, enter No and then press ENTER.
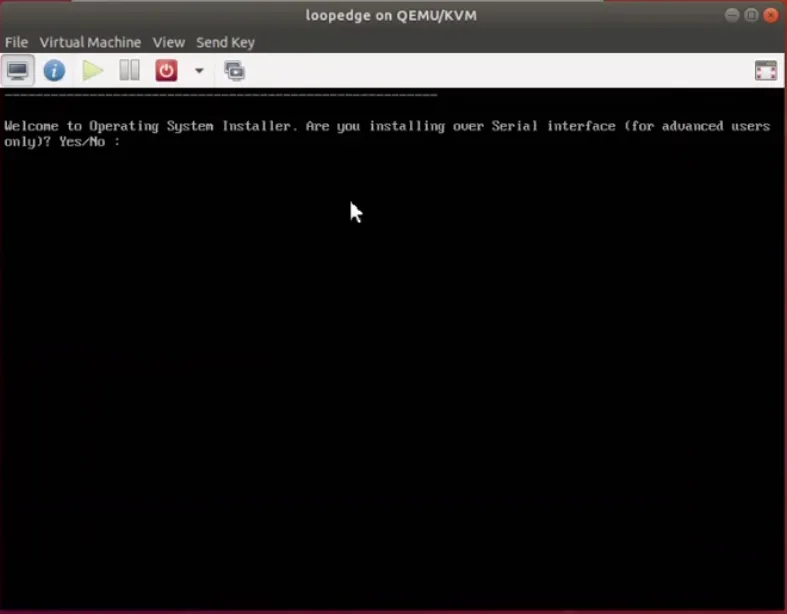 KVM OS Installer start up screen.
Select Install Operating System, and then select Ok.
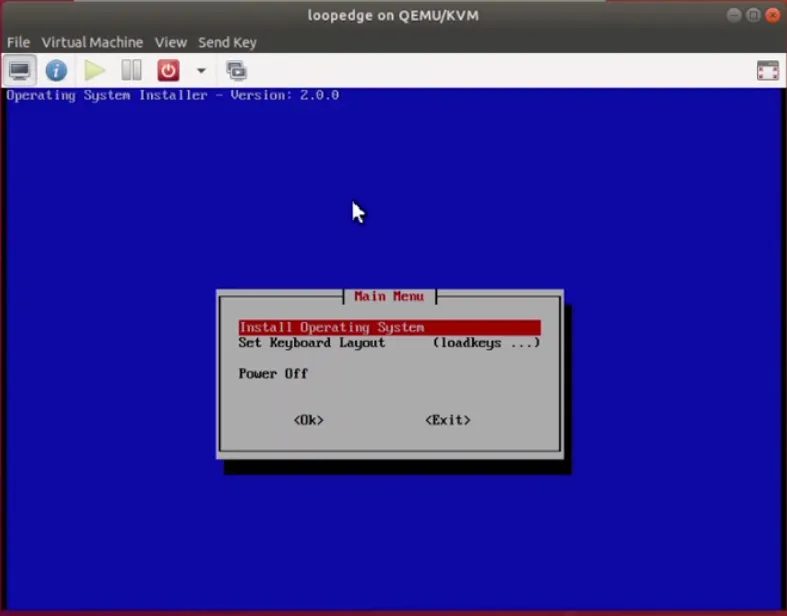 Install Operating System option
Select the partition to install, and then select Ok. This list is device specific. Typically, the installation location is sda. If the device/gateway has embedded MMC (eMMC) components, the partition name may be listed as mmcblk instead of sda. Make sure you select the correct hard-drive location.
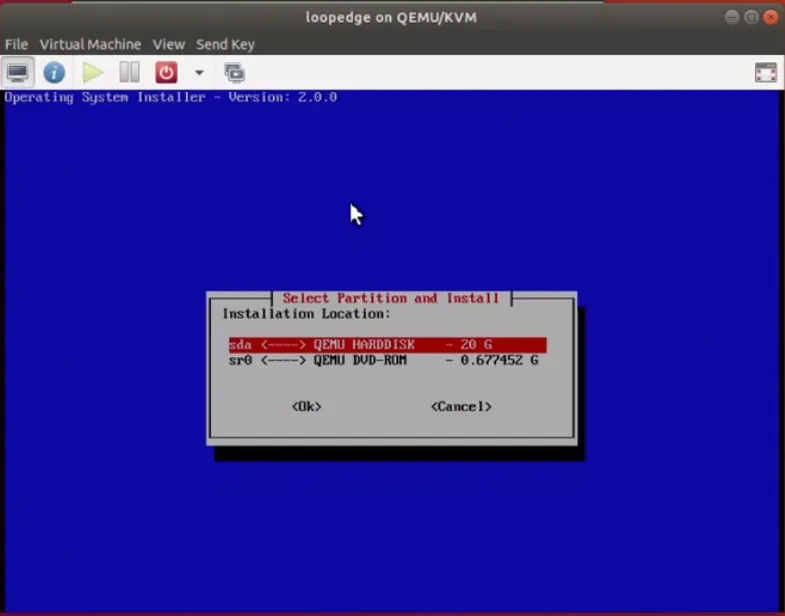 Select partition option
Verify the OS installation location by selecting Yes. If you select No, you are returned to the beginning of the installation.
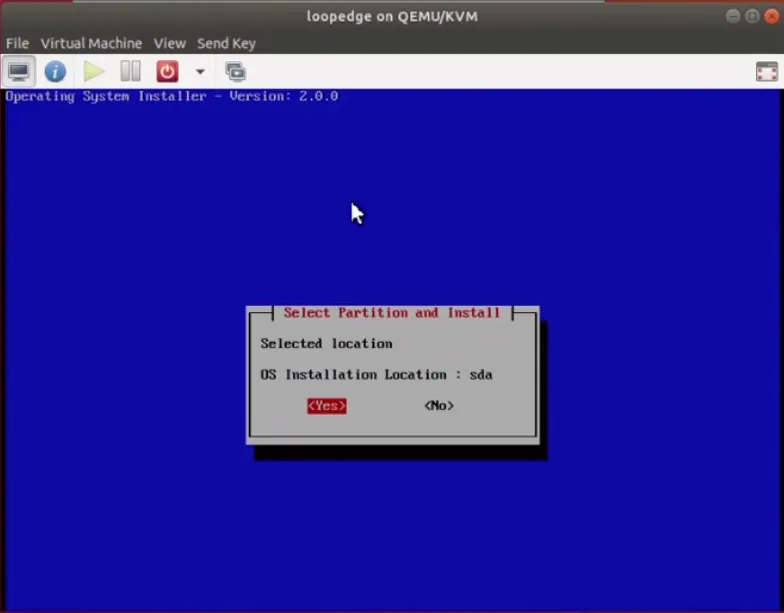 Installation verification
A second verification ensures that you are overwriting the correct device partition during the formatting process. Select Yes to continue formatting the device and installing the operating system.
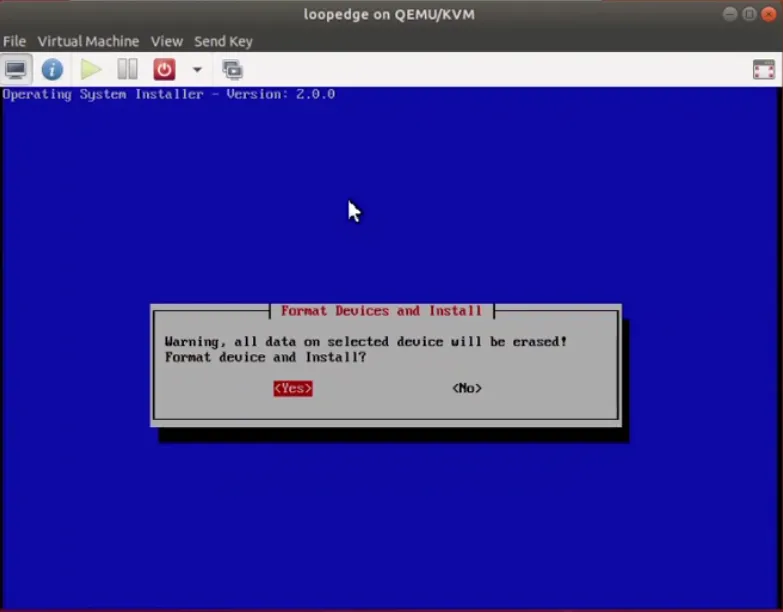 Warning message for installatio
The installer indicates its progress, followed by a success message.
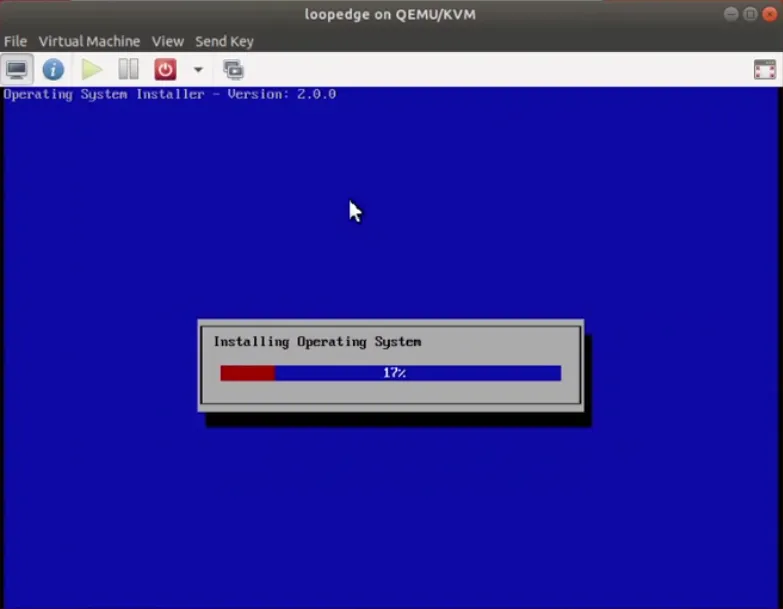 Installation progress bar
Select Yes to power off the device.
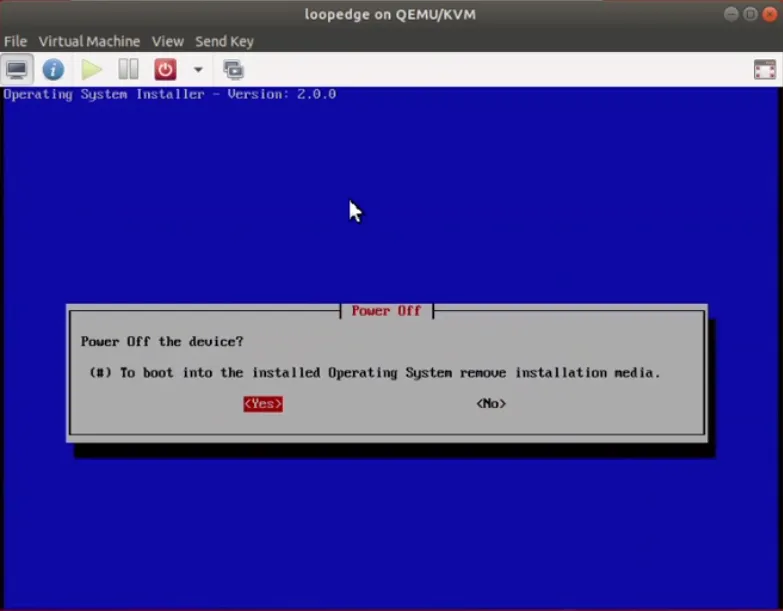 Power off notification
- Reboot the device. The terminal window displays the URL which must be used to access the device using the Web UI.
Note: If several URLs are displayed, the first one is used for accessing the device through the Web UI.
Step 4: Configure TUI Settings
To configure the TUI settings:
- Press Left Control+ Left Alt to release the pointer on the TUI. The TUI settings appear.
- Navigate to the TUI settings.
From the Keyboard Layout setting, select US, and then select Apply.
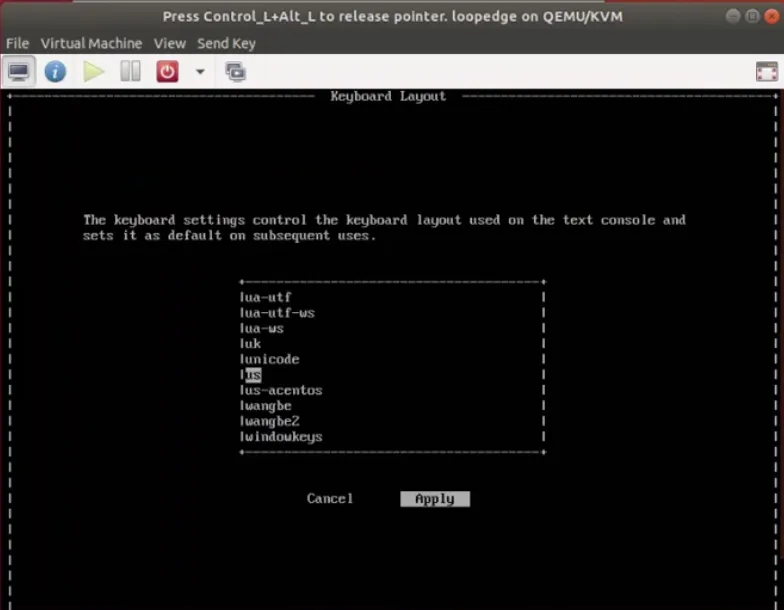 Keyboard settings
From the Authentication setting, enter the following credentials and log in. Username: admin Password: password
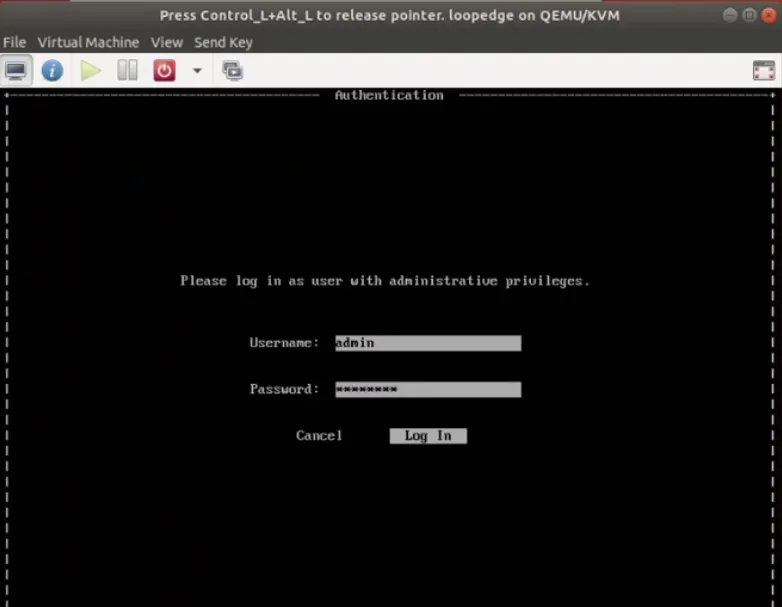 Login screen
- Scroll to the bottom of the license agreement and proceed.
From the Change Password screen, enter the existing and new password and select Change.
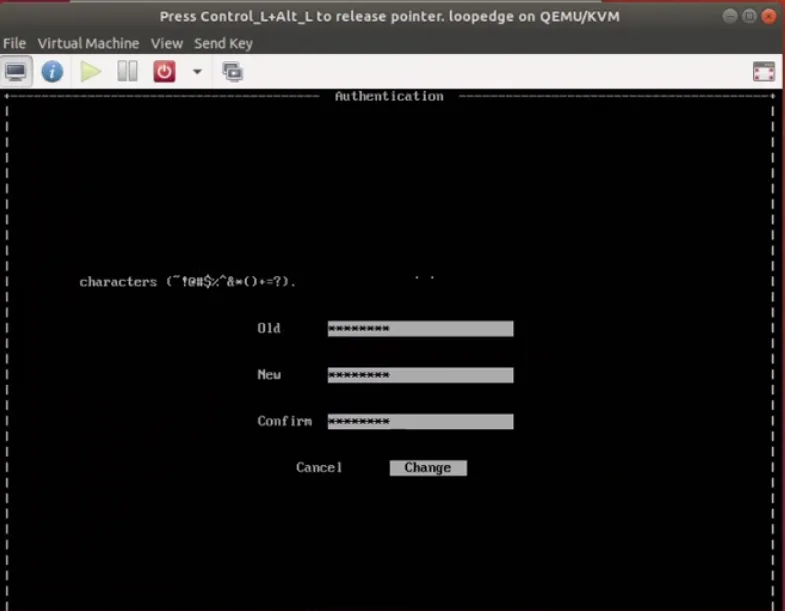 Change password screen.
From the Authentication screen, enter admin as the username, your new password, and select Log in.
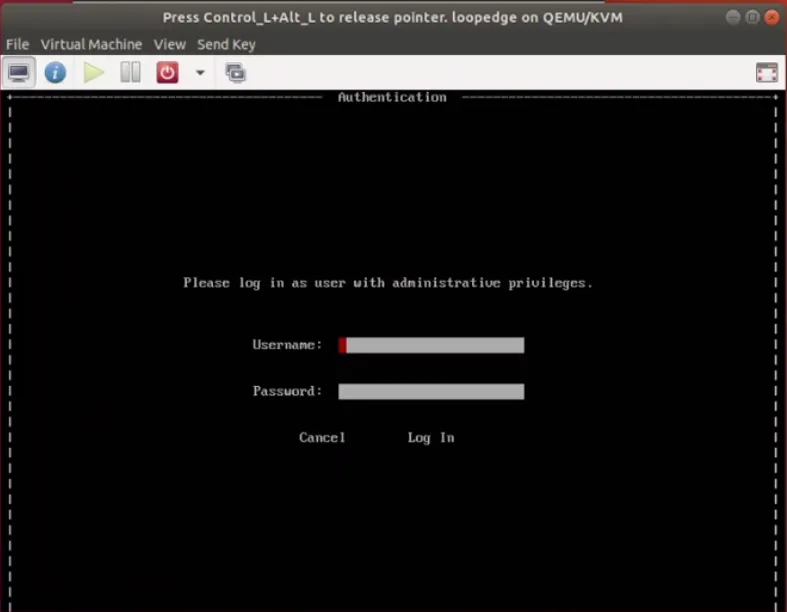 Authentication screen
- From the System settings screen, select Configure Interfaces, and then select Next.
Step 5: Log in to Belden Horizon Data Operations
- See Access the Terminal User Interface for instructions on how to navigate and log in for the first time.