Create and Import Models
Note: The Digital Twins feature is available for Belden Horizon Data Operations version 3.5.2 and later.
You can create Digital Twins models by navigating to Digital Twins > Models.
Step 1: Create Model
You have two options for creating the model. You can create a new model or import a model as a JSON file.
Create a New Model
To create a new model:
- Navigate to Digital Twins. The Models pane appears.
From the Models pane, click the Create a model tile.
The Create a Model dialog box appears
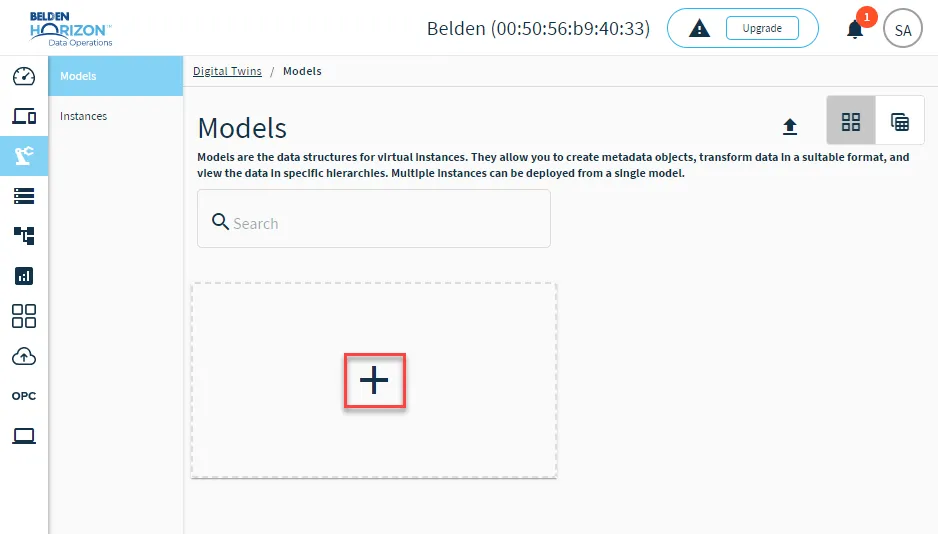 The Create a Model tile
- Click the Type drop-down list and select Select model type.
- Enter the name of the model in the Name field.
- (Optional) Enter a short description of the model in the Description field.
- Click Add. A new model tile appears in the Models pane.
Import an Existing Model
You can import a model as a JSON file.
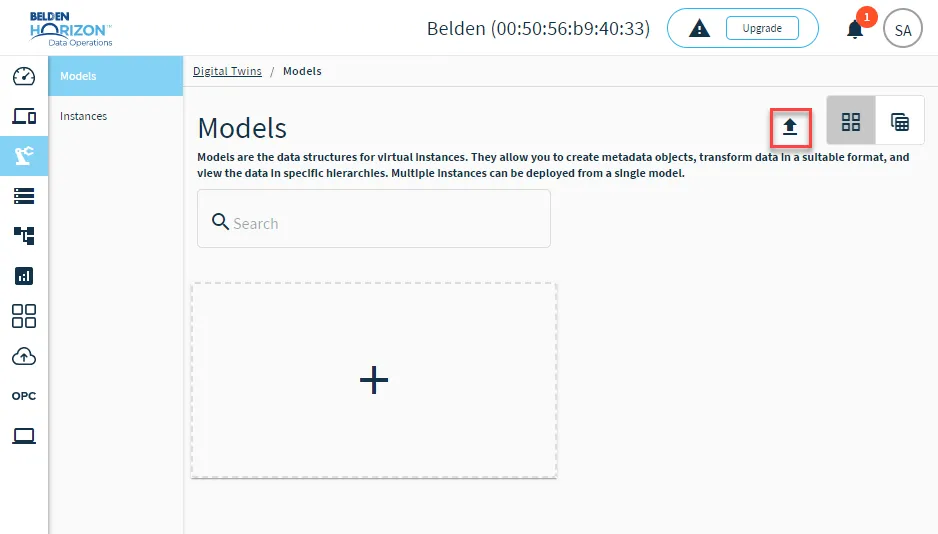
To import an existing model, click the Import Model icon, select the <model name>.json file, and click Open.
Step 2: Configure Model
After creating the model, you can configure it appropriately for instances.
Click the Model tile (grid view) or Model name (table view) to view the model details.
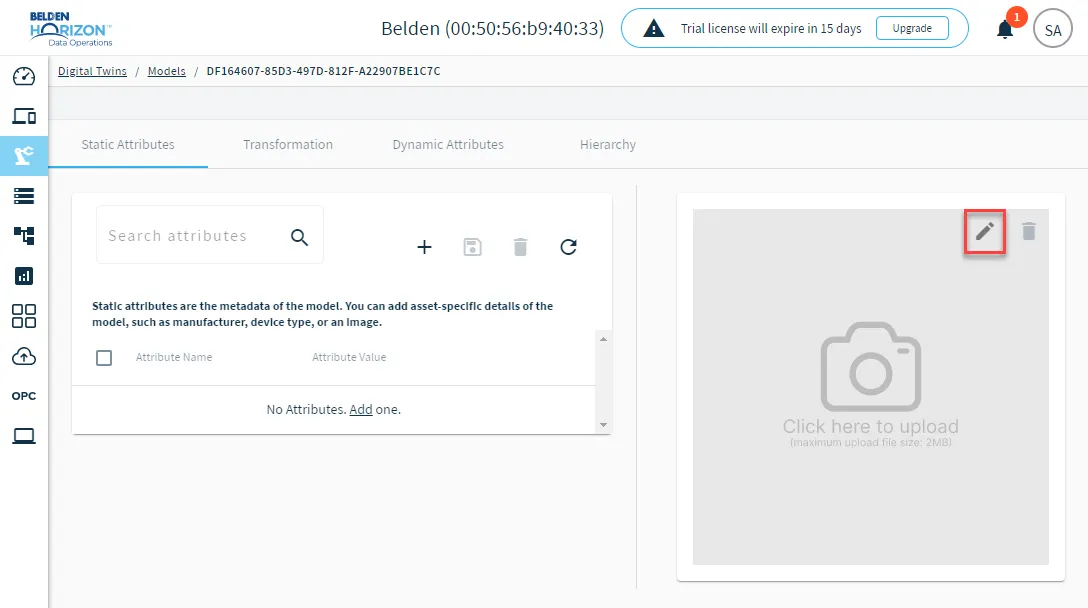
Model Image
Click the Upload image icon to select an image for the model. The image will display for the model tile on the Models pane.
Static Attributes
Manage the metadata for the model from the Static Attributes tab.
To add static attributes:
- Click the Model tile (grid view) or Model name (table view) to open the model details.
From the Static Attributes tab, click the Add item icon.
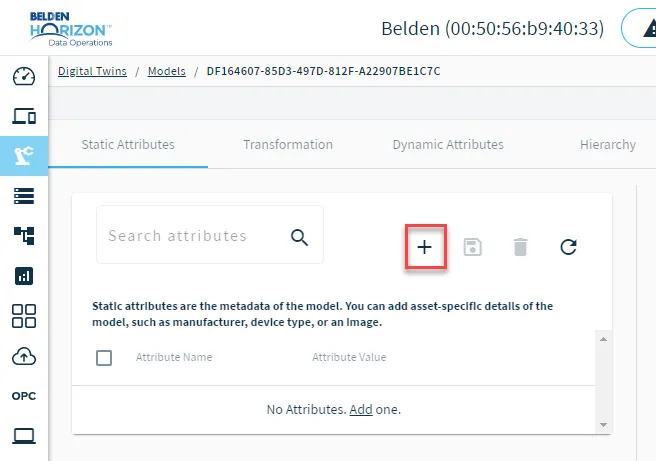 Add Static attribute icon
In the Attribute Name field, either select an item from the drop-down list or enter a custom attribute name.
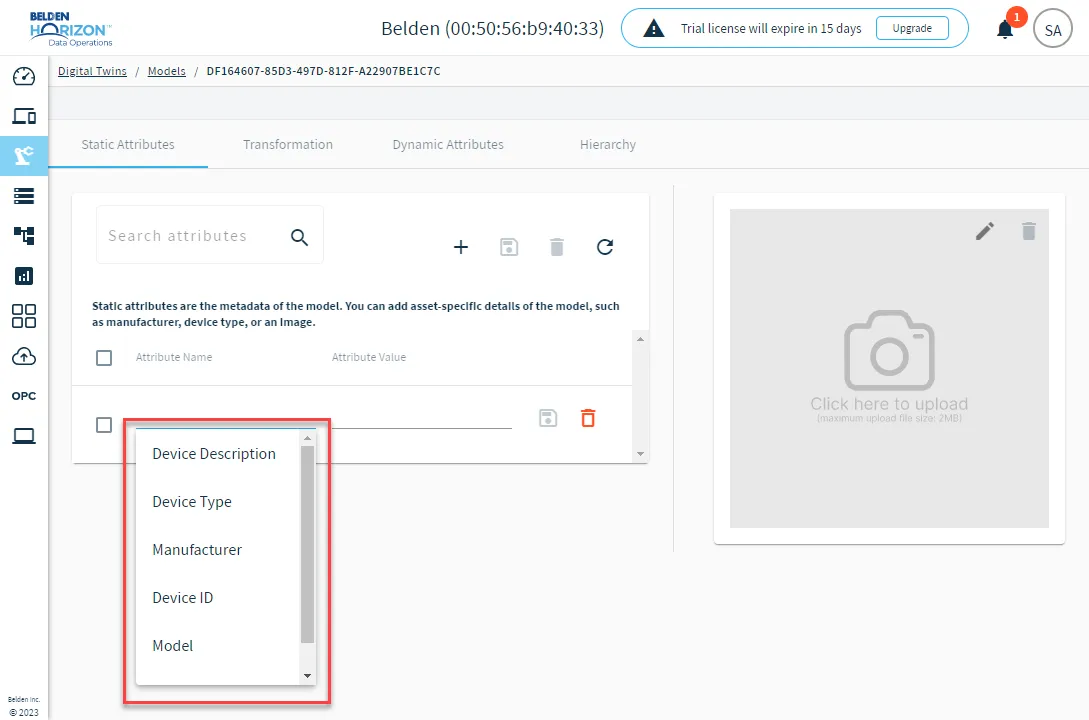 Static Attribute drop-down list
- In the Attribute Value field, enter a value for the model.
- When done adding the attribute, click the Save icon. Alternatively, you can add multiple attributes and click the Save all icon.
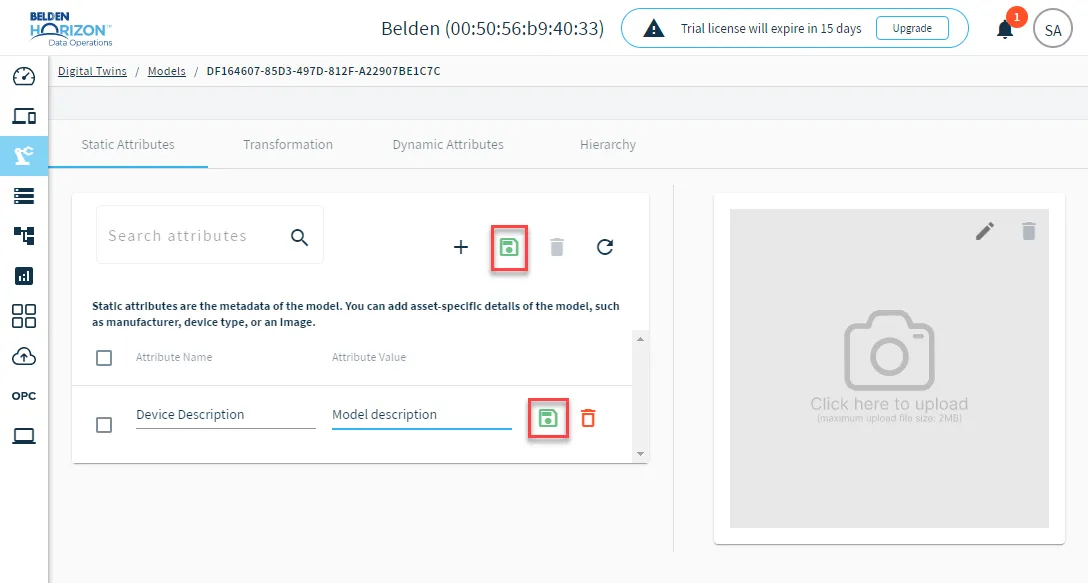
Transformations
Use the Transformation tab to transform the data collected in Instances by converting raw JSON data to a desired format by defining the JSON-based schema.
You can define schema IDs, which can be used to manipulate the payload and define a structure for the payload as the model inherits data.
To a data transformation schema:
- Click the Model tile (grid view) or Model name (table view) to open the model details.
- Click the Transformation tab.
Click the Add a Schema icon.
The Add dialog box appears.
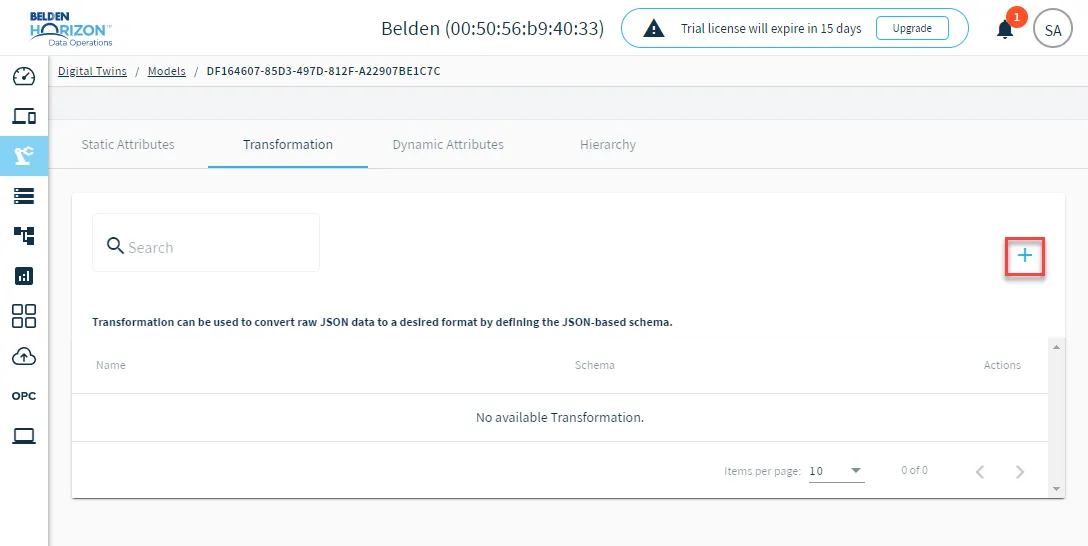 Add a Schema icon
- Enter a name for the schema.
- In the code window, copy and paste the JSON-based schema.
- Click Add.
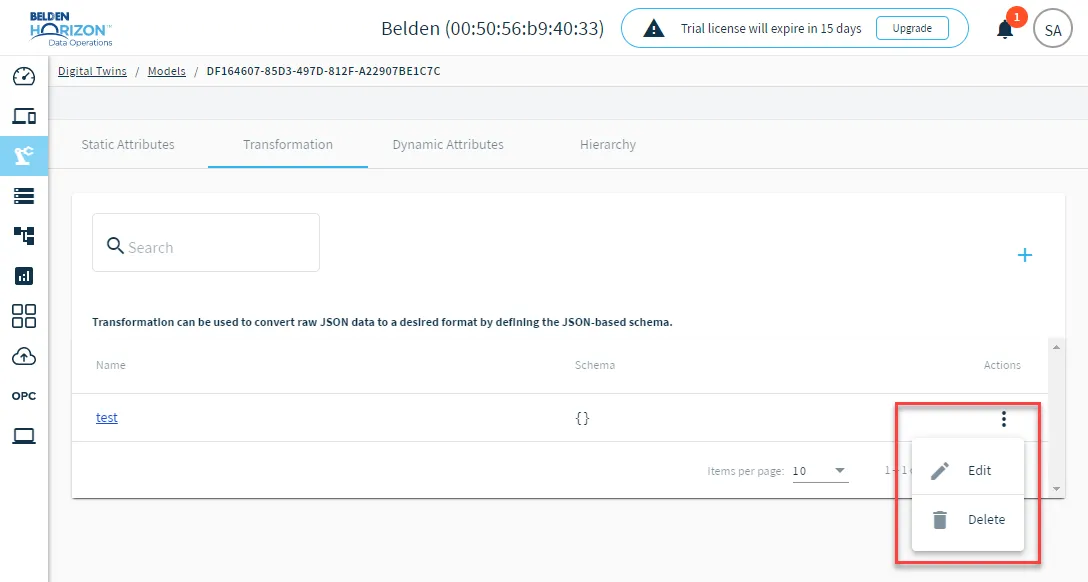
To edit or delete a schema, click the Action menu for the schema and select an option.
Dynamic Attributes
Manage variable data in the model from the Dynamic Attributes tab. You have the option of adding a schema ID, which can be used to map dynamic attributes one-to-one for data transformation.
To add a dynamic attribute:
Click the Add item icon.
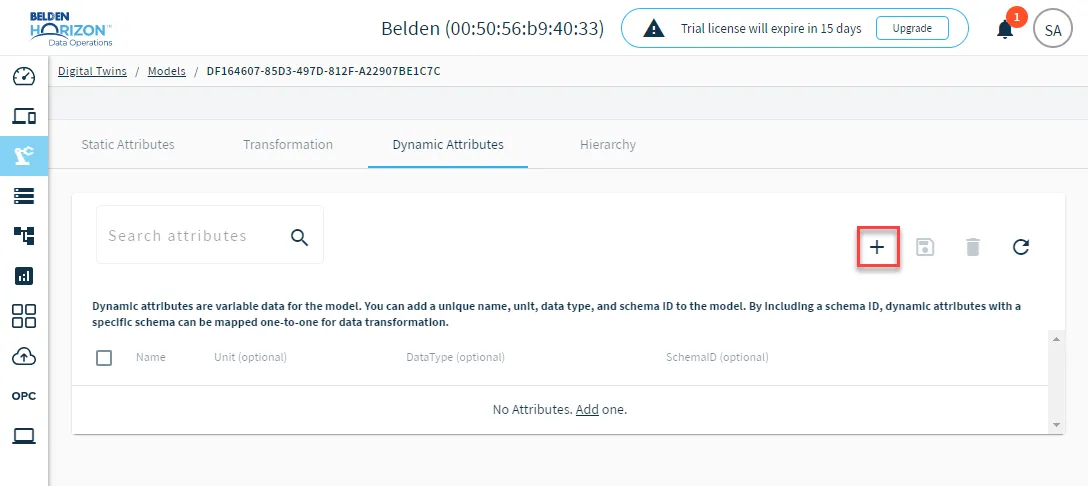 Add Dynamic attribute icon
- In the Name field, enter a name for the attribute.
- (Optional) Enter values for Unit and DataType.
- (Optional) If you've created data transformation schemas, select one from the SchemaID field.
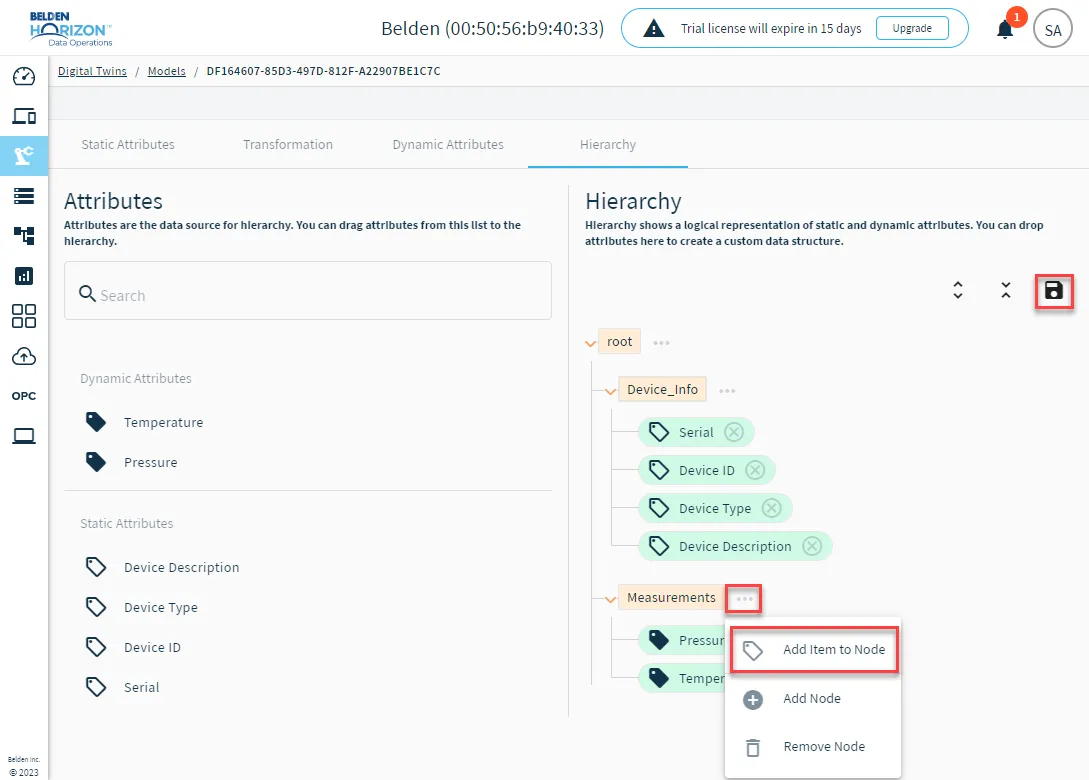
Hierarchy
Use the Hierarchy tab to create a custom data structure for the model.
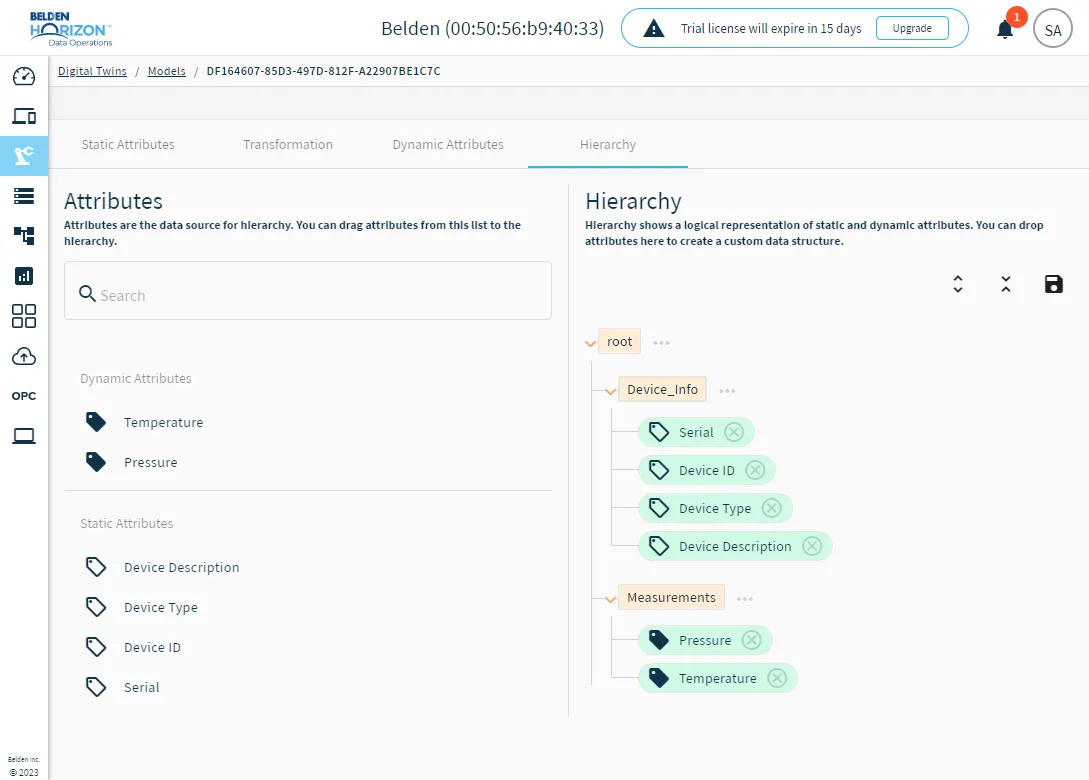
To create a category for the hierarchy, click the Action menu icon for root and select Add Node.
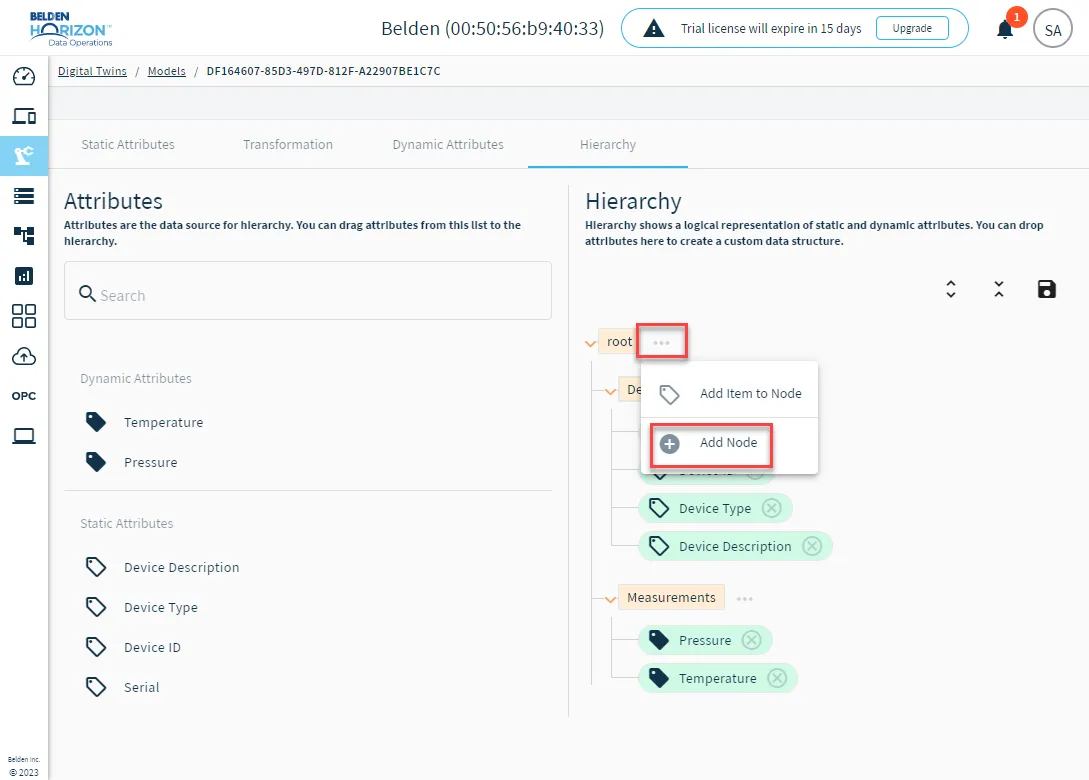
To add attributes to the hierarchy, do one of the following:
- Drag and drop attributes from the left-hand list to the canvas under the appropriate category.
- Click the Action menu for a category and select Add item to Node. Then, select the attribute to add.
When done configuring the hierarchy, click the Save icon.